> ## Documentation Index
> Fetch the complete documentation index at: https://developers.telnyx.com/llms.txt
> Use this file to discover all available pages before exploring further.
# TeXML Bin Simple Voicemail and Call Forwarding
> Quickstart for Telnyx TeXML Bins — host TeXML directly on Telnyx without a backend. Create a Bin, point a number to it, and answer your first call.
TeXML Bin allows users to upload TeXML files to storage and use it for call flows without having to code. Developers can quickly and easily add programmable voice features into applications without having to worry about setting up application servers.
TeXML is an XML-based data structure you can use to control calls with Telnyx and is the quickest way to get started with Programmable Voice using a simple .xml file, allowing you to specify call instructions in your file using commands called verbs and nouns. TeXML interpreter starts at the top of your TeXML file and executes your TeXML commands sequentially in the order they are arranged in the file.
In this guide, you'll learn how to start using TeXML Bin and configure a simple voicemail and call forwarding TeXML application using Telnyx’s Voice API.
This tutorial assumes you've already [set up your developer account and environment](/development) and you know how to [send commands](/docs/voice/programmable-voice/sending-commands) and [receive webhooks](/docs/voice/programmable-voice/receiving-webhooks).
Let's get started:
## Step 1: Create your XML
In order to create XML documents, you can use the new TeXML editor in the Mission Control Portal. You'll find the TeXML editor by navigating to the Programmable Voice section on the left menu and selecting 'TeXML Bin'.
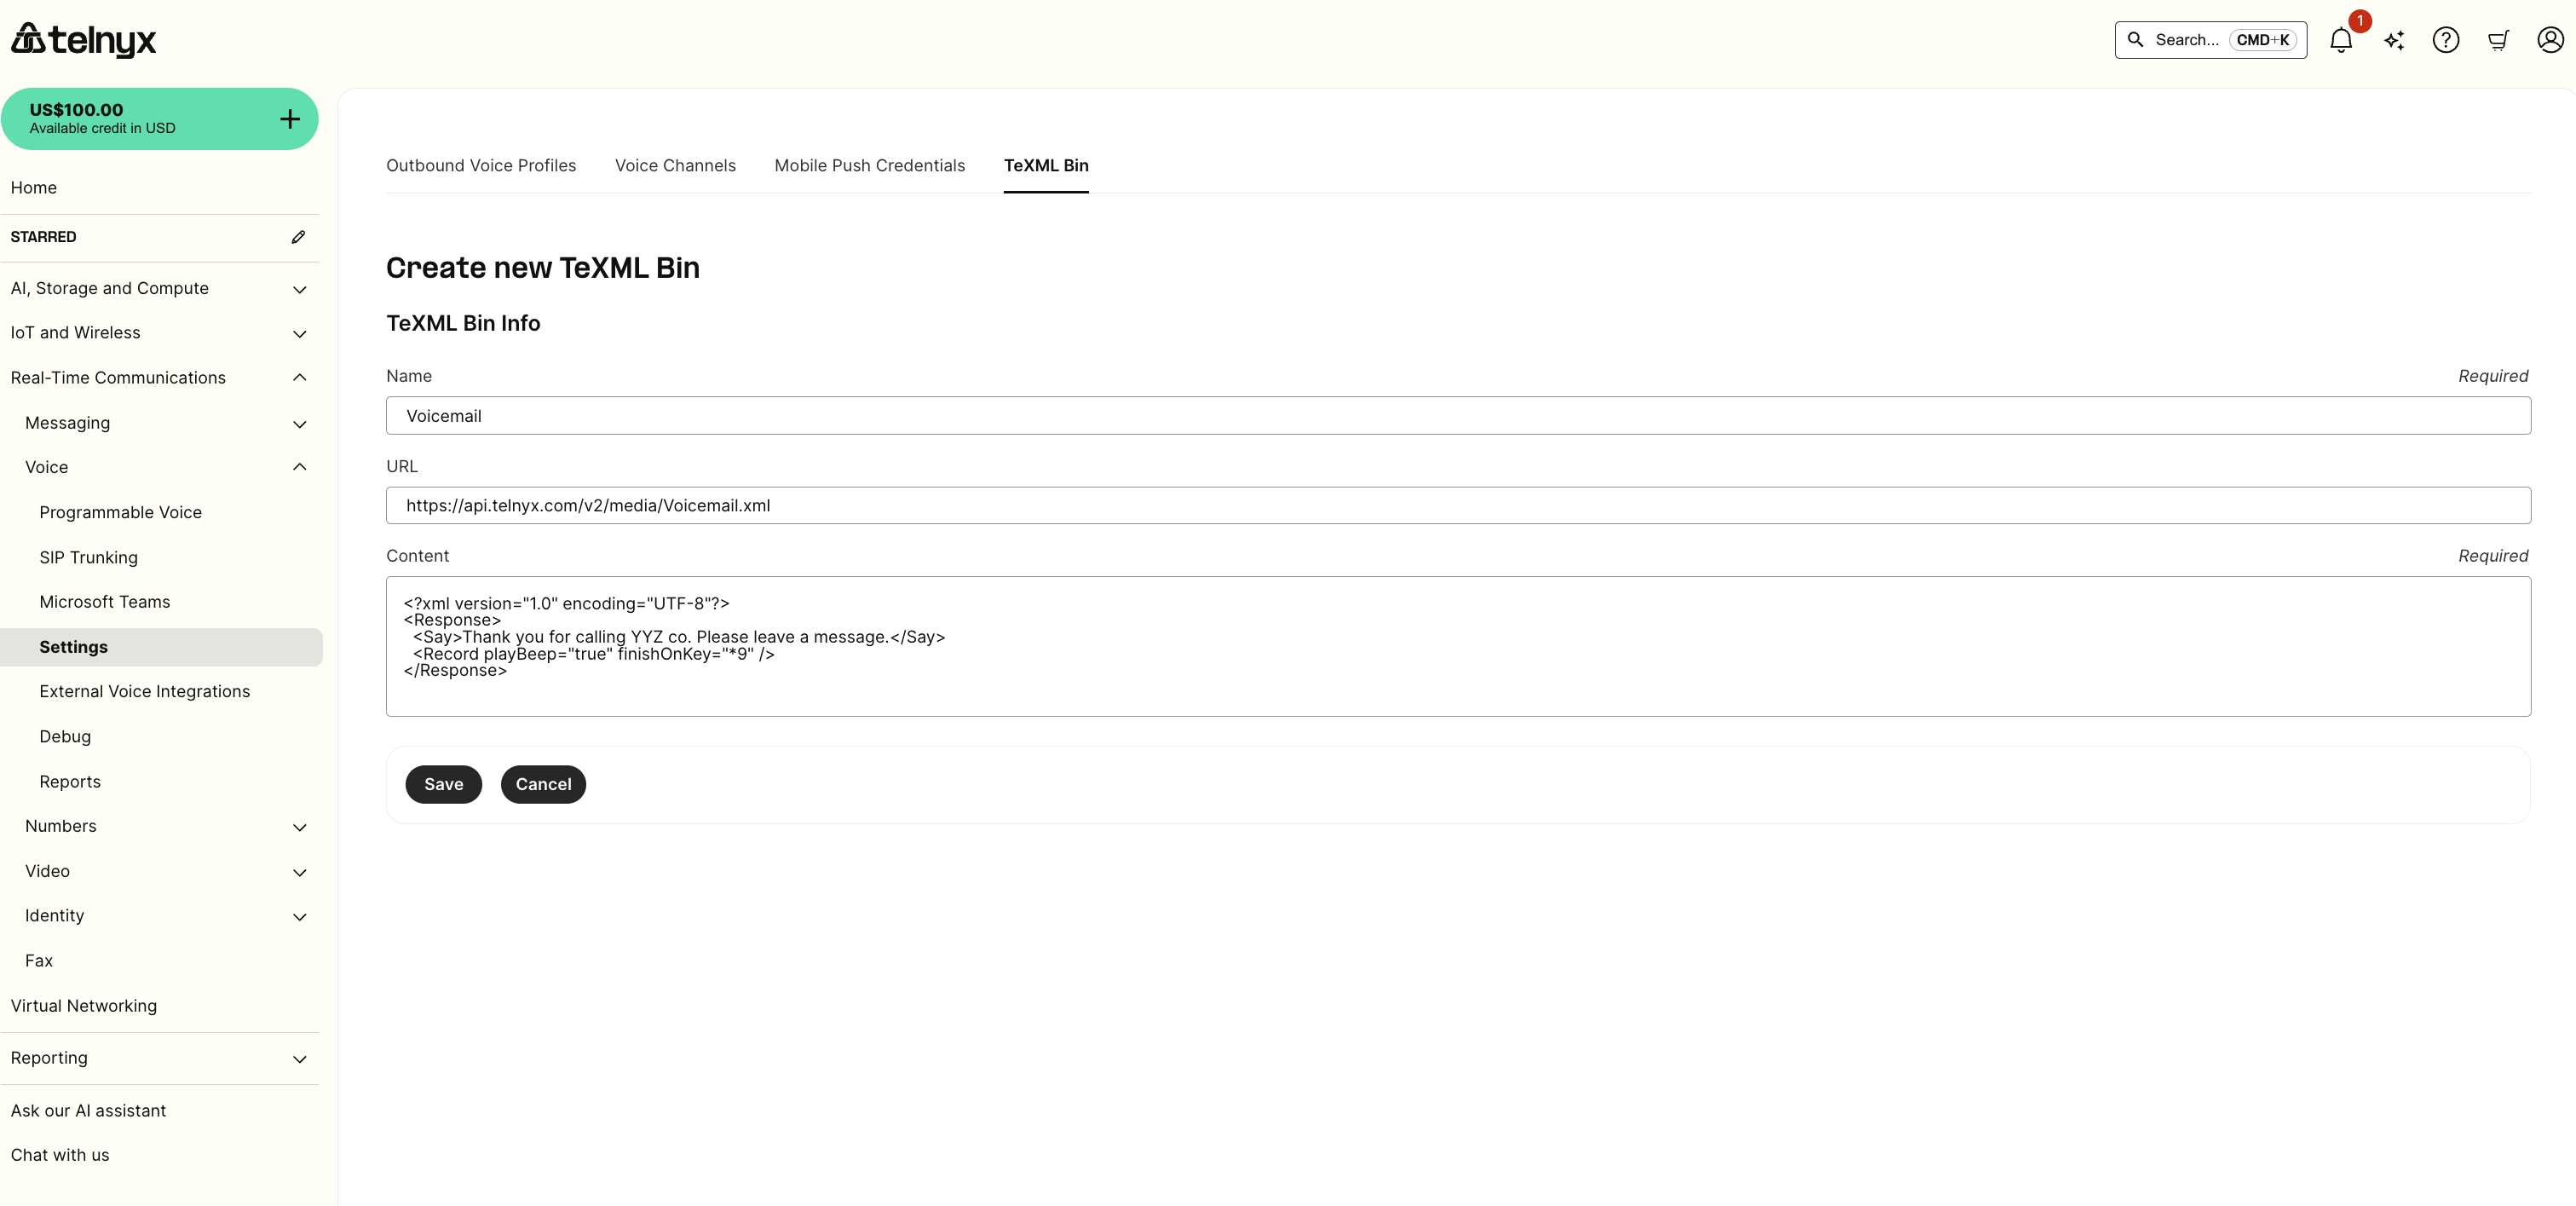 *Set simple voicemail with TeXML Bin*
### Simple voicemail
```xml theme={null}
Thank you for calling YYZ co. Please leave a message.
```
### Simple call forward
```xml theme={null}
ext1@sip.xyzco.com
ext3@sip.xyzco.com
ext4@sip.xyzco.com
```
## Step 2: Set up your XML application in Mission Control
You can set up your XML application to use the created script by selecting it from the drop-down list.
*Set simple voicemail with TeXML Bin*
### Simple voicemail
```xml theme={null}
Thank you for calling YYZ co. Please leave a message.
```
### Simple call forward
```xml theme={null}
ext1@sip.xyzco.com
ext3@sip.xyzco.com
ext4@sip.xyzco.com
```
## Step 2: Set up your XML application in Mission Control
You can set up your XML application to use the created script by selecting it from the drop-down list.
 *Editing your TeXML application*
## Step 3: Test your application
Test your application by:
1. Assigning a phone number to the application
*Editing your TeXML application*
## Step 3: Test your application
Test your application by:
1. Assigning a phone number to the application
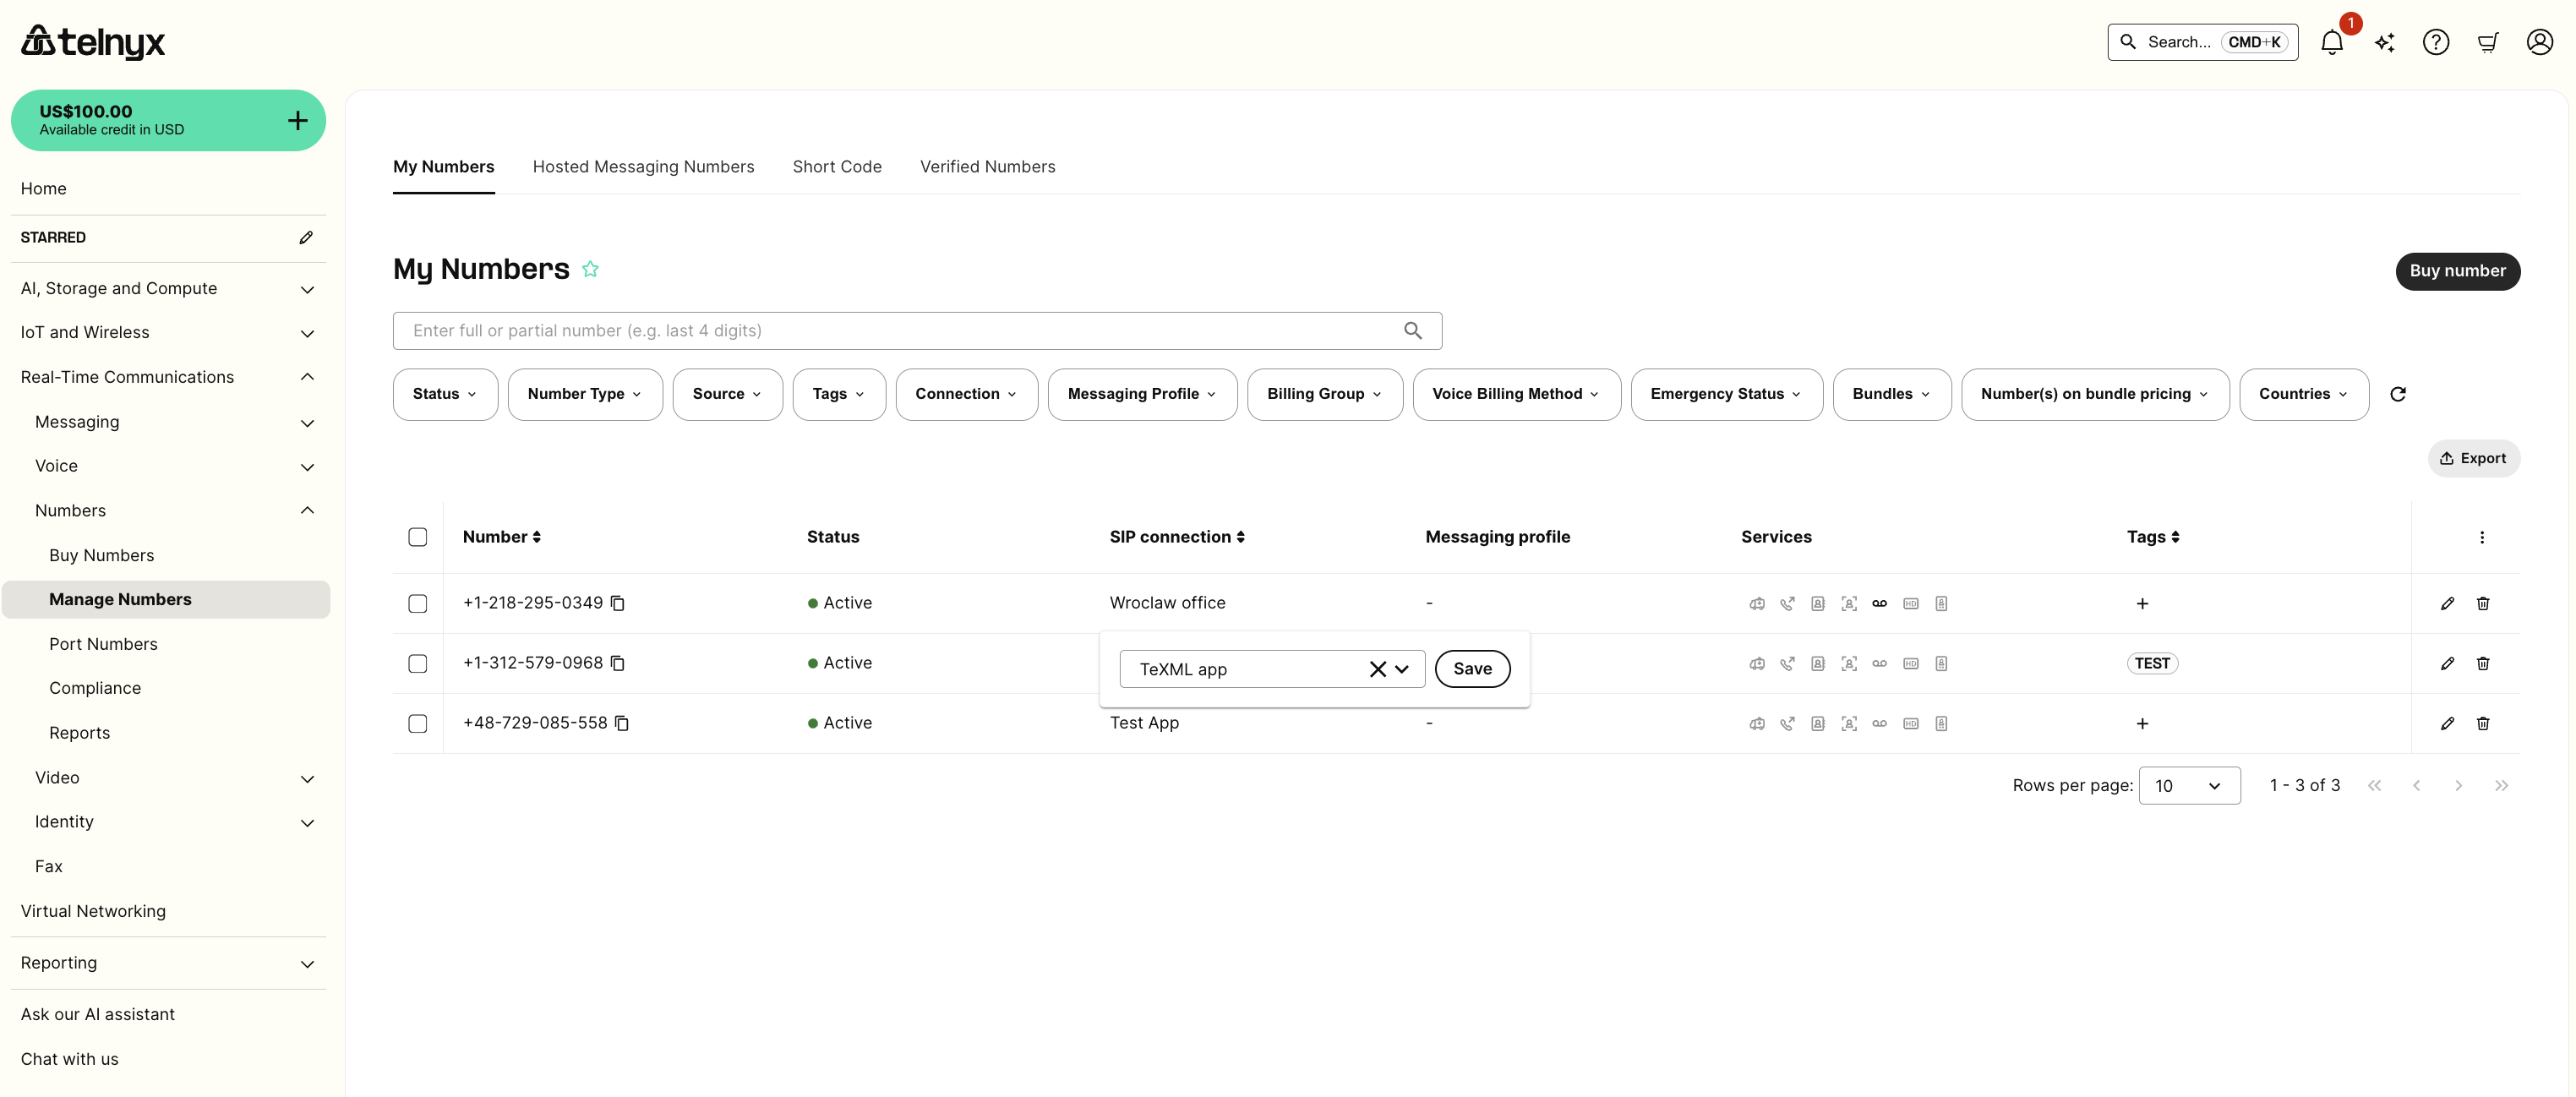 *Assigning a number to an application*
2. Dialing the number from the PSTN and leave a message
3. Retrieving your voicemail
*Assigning a number to an application*
2. Dialing the number from the PSTN and leave a message
3. Retrieving your voicemail
 *Retrieving your voicemail*
And that's it! If you have any questions about this tutorial or any of our products, reach out to our support team through the chat in the bottom right-hand corner.
*Retrieving your voicemail*
And that's it! If you have any questions about this tutorial or any of our products, reach out to our support team through the chat in the bottom right-hand corner.